Shedquarters
Projects are never completed. But my shedquarters is now far enough along to share pictures.
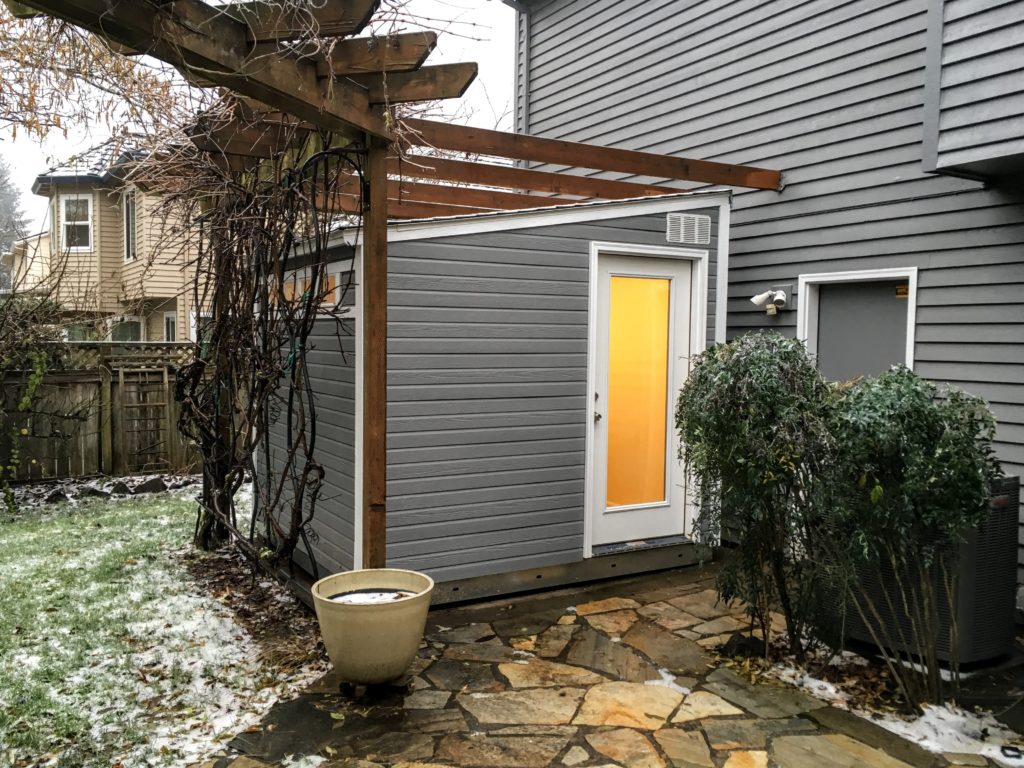
Behold: the shedquarters.
A quiet space for global domination.

In this bizzaro-world rendering of my house, my shedquarters is located at the arrow.
“What is a shedquarters?” you might ask. Well, it’s a “shed” and a “headquarters” — two in one.
Ironically, I’ve had an office for the majority of my remote-work career. First a desk at PIE PDX, then an office sublet at Vadio, then a desk at MobileRQ, and thenan executive office in Tualatin. I’ve found physical separation of work and life to be critically important for mental stability.
But then Leah introduced me to the shedquarters concept and I was instantly hooked. It only took me two and a half years to actually do.

You can build a shedquarters too!
There are a million and one different things I learned the hard way that you can learn the hard way too. And, like every project, it’ll go over budget and take longer than expected:
- June 2017 - Ordered Tuff Shed.
- August 2017 - Tuff Shed installed.
- August 2017 - Scheduled electrician.
- September 2017 - Electrical installed, part 1.
- October 2017 - Did drywall, mud, texture, paint.
- November 2017 - Electrical installed, part 2.
- December 2017 - Trimmed interior (windows and moulding).
- January 2018 - Hung artwork and called the shedquarters done-enough.
Total hours: lots.
Planning your shedquarters
Before you break ground, you’ll need to plan everything out. There are a few different ways to go when building a structure:
- Hire an architect to design something for you (
$15k). Once you have the design, hire a general contractor to deal with building it ($15k). I considered this route for a hot second. - Purchase some prefabricated option (~$10-20k). I looked at Modern Shed and decided against because I read some reviews about mold issues in rainy Pacific Northwest. I also wasn’t sold on the look.
- Purchase a 9’x8’ Tuff Shed, have it installed, and finish the interior yourself ($8,556.84) <-<-<-<- This is what I did!
- Build the entire structure yourself from scratch (~$2-4k). Probably a bad idea unless you’ve done it before. I decided I wanted to start with a structurally sound, waterproof exterior.
When planning your shedquarters, you’ll also need to clear any local building codes. Pro tip: Call your city’s engineering department and explain what you’re up to. They were quite helpful my case. For Tualatin, I needed to make sure the shedquarters was 5’ or more from the property line, and that the total footprint of all structures didn’t exceed 45% of the lot.
Also important to note: my shedquarters is free-standing (i.e. not connected to my house). Connecting something to a house is considered an addition to the house and subject to all sorts of building codes.
Before you complete any of the prep work, you need to pick your building site. I cheated by getting rid of our hot tub, thus freeing up its concrete pad and electrical connection. Unless you cheat too, you’ll need to work out these details.
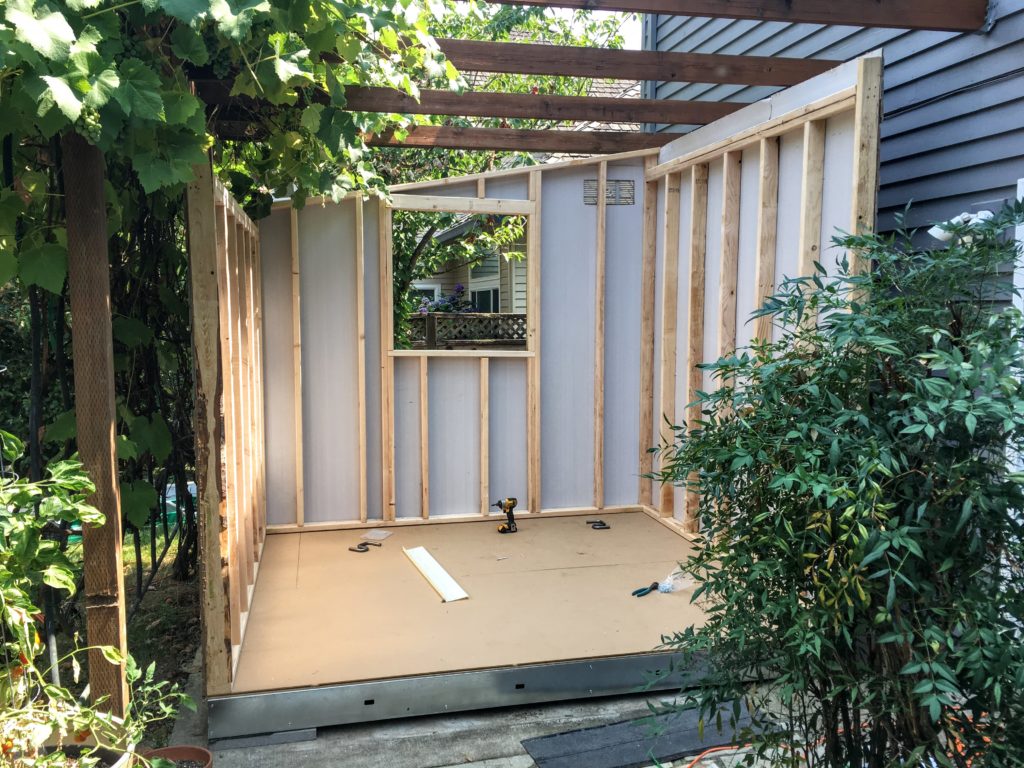
Building the Tuff Shed
For better or for worse, I bought a prefab structure from Tuff Shed using their web-based Build-A-Quote tool.
I say “for better” because I’m really happy with how it turned out; having the shedquarters fit aesthetically was very important. I say “for worse” because the installation experience was laughably bad; Tuff Shed probably lost a ton of money on me.
Fire up the ol’ web browser and use Tuff Shed’s Build-A-Quote tool to design your shed.
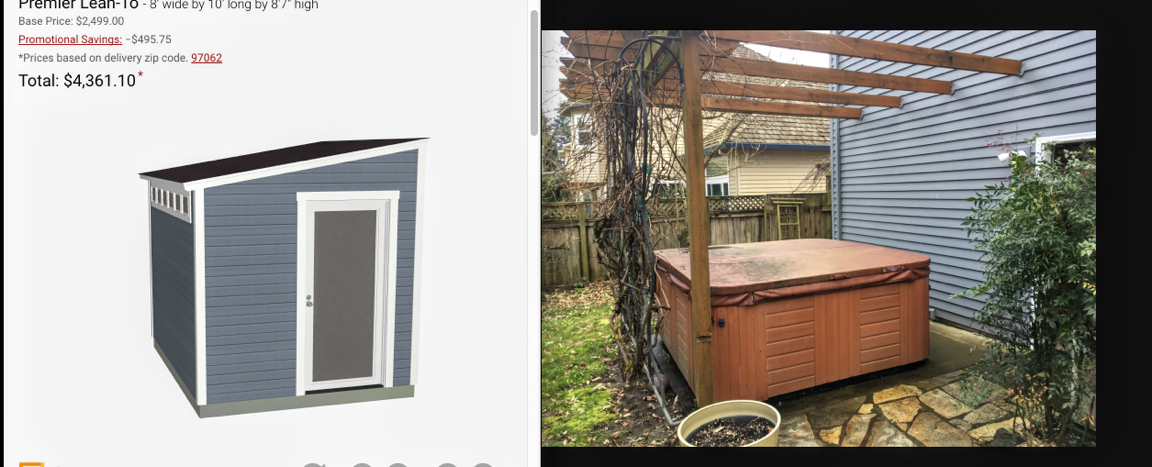
Tuff Shed’s Build-A-Quote made it easy to visually place the structure.
Once I placed my order, it took Tuff Shed ~8 weeks to come and install it. The first installation attempt failed because the sales guy failed to adequately inform me what I needed to do to prepare the building site. The second installation day went fine, except for the defects I discovered after the fact.
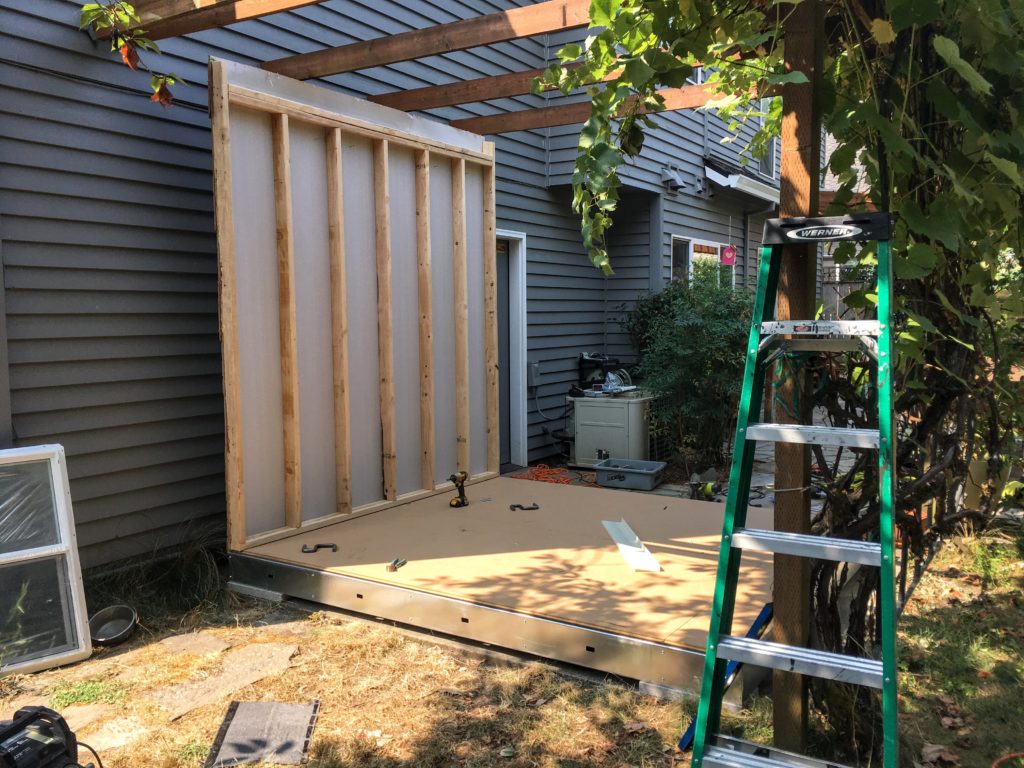
Step 1: Place the base.
Step 2: Build some walls.

Step 3: Done!
Once the Tuff Shed installation was complete, I had a paint-matched building shell that fit aesthetically within the context of our backyard. However, it wasn’t truly complete because there were four remaining issues:
- The door was damaged on arrival. Then, the second door was damaged at the shop. The third door installed just fine.
- A trim piece was missing from the kit…
- … which also meant they couldn’t finish the trim paint.
- The main 3x3 window was installed at a 4 degree angle (i.e. not level nor visually level). “Fixing” this was a serious half-day job.
It somehow took Tuff Shed six additional weeks to fix these issues.
Don’t get me wrong — I’ve heard good things about Tuff Shed and am very pleased with the value and the end result. The entire process was comical though.
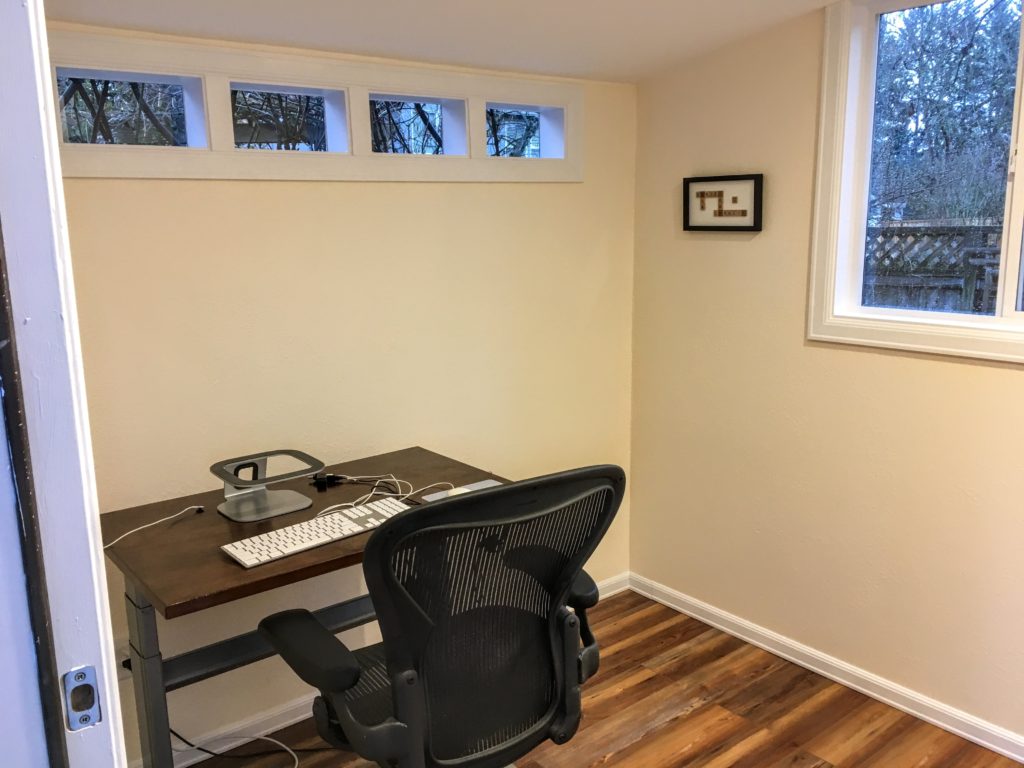
Finishing the interior
A shed does not make a shedquarters. You’ll need to finish the interior too. Namely, this means:
- Insulation (easy).
- Drywall (easy), mud (hard), and texture (harder).
- Electrical (hire a pro).
- Flooring (easy).
- Trimming windows (hard) and moulding (easy).
Thanks to the help of patient friends and family, I learned how to do all of this myself. Notably, texturing walls was an absolute beast. Don’t use spray cans like I did; buy a proper sprayer and hopper.
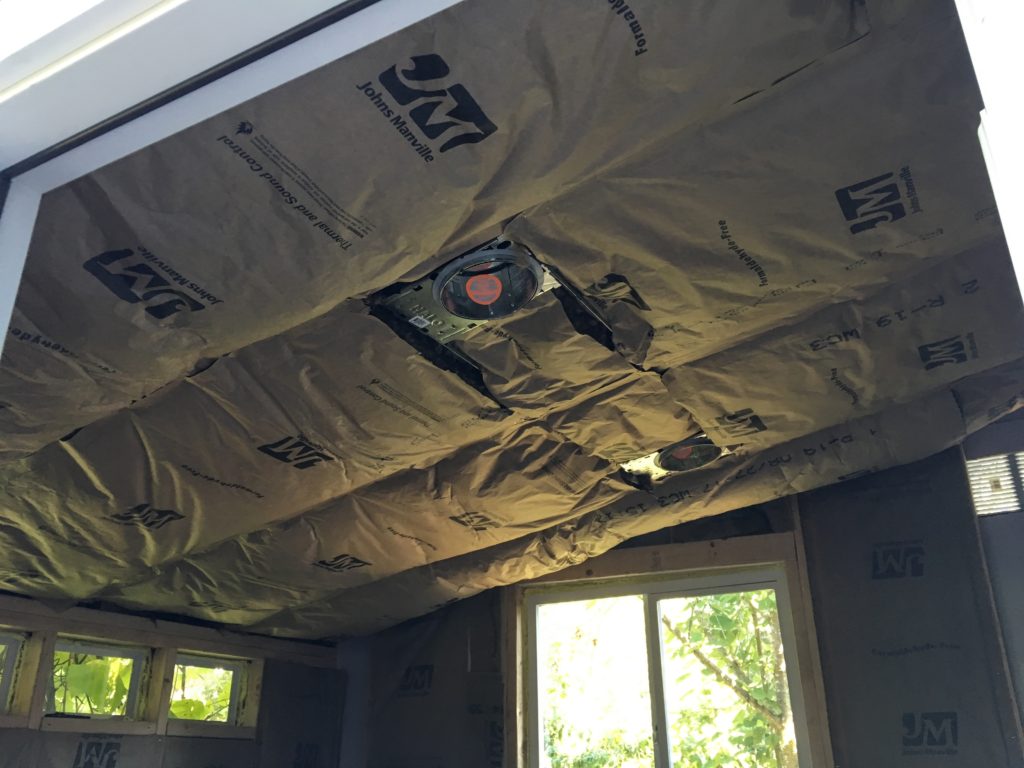
R13 baby. If you look closely, you’ll notice I stapled the insulation incorrectly.
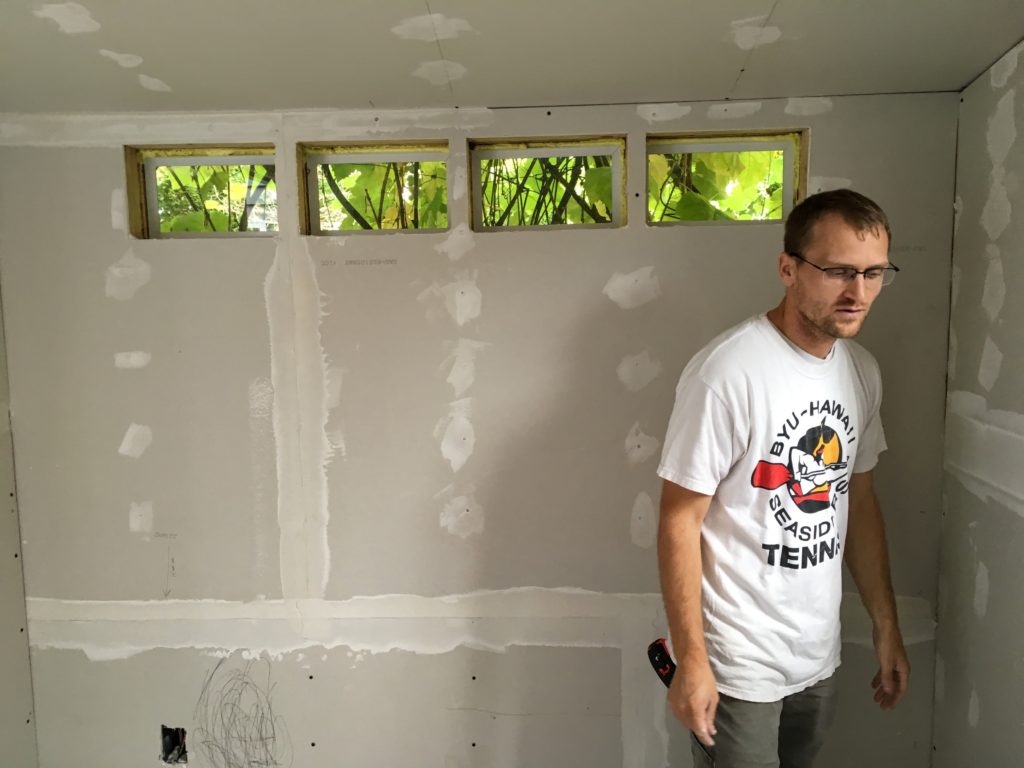
Jordan helped me hang drywall and apply mud.
Late night painting session. Drywall is a thirsty wall.
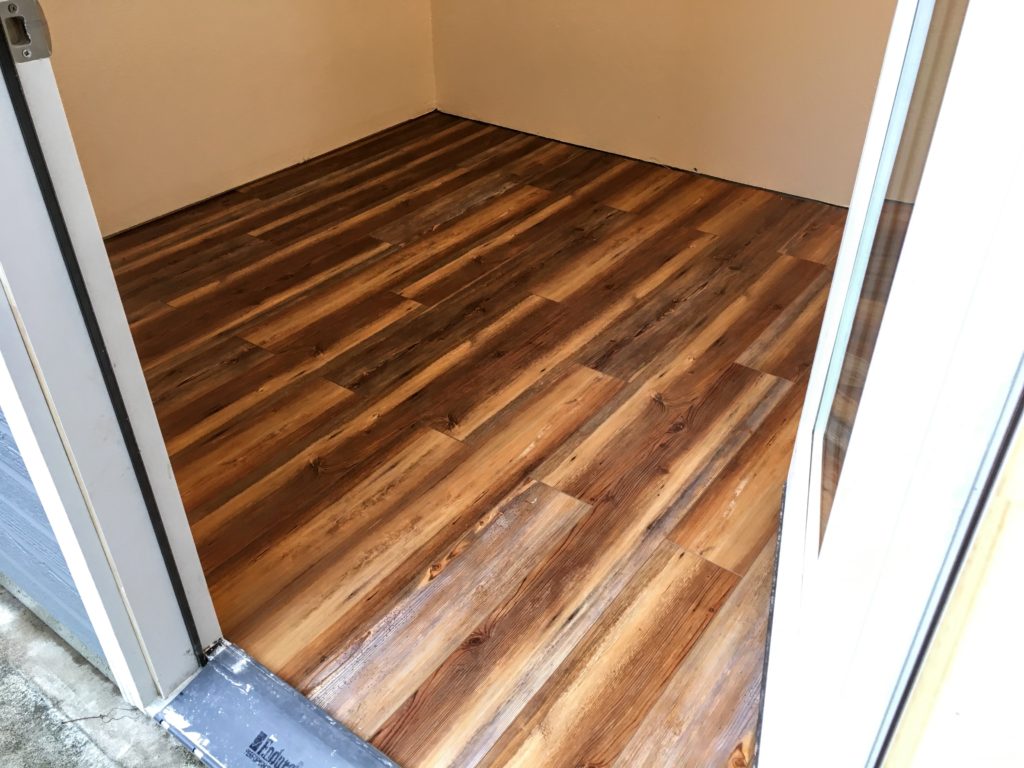
Fake Pine vinyl flooring was A+ easy to install and looks really good.
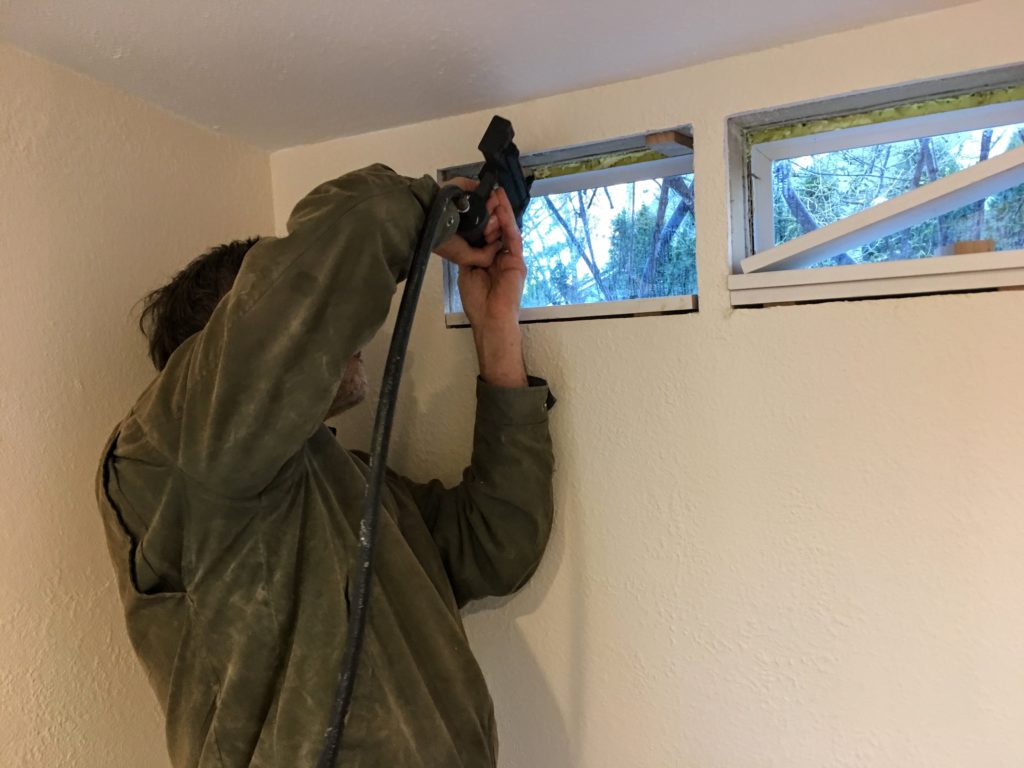
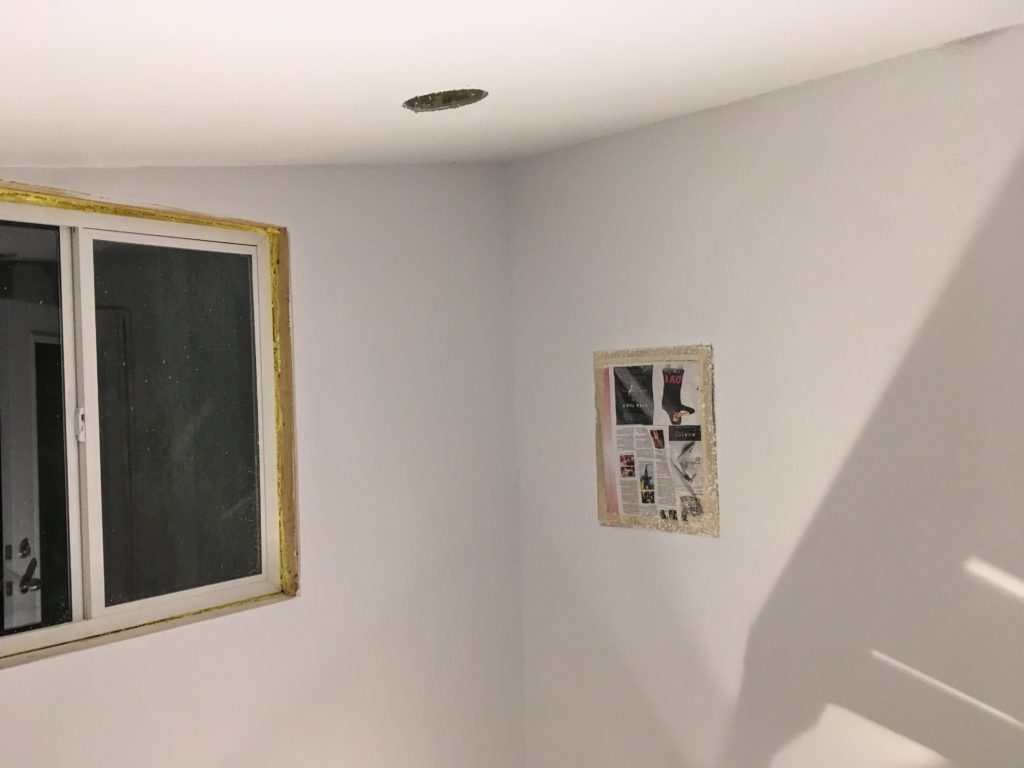
Paul helped me box and trim the windows, and install moulding.
What’s next
Like every project, the shedquarters is never complete.
For instance, I originally installed a ClimateRight 5000 BTU A/C and heater. It works well-enough, but I don’t want to leave it running all the time in the winter. But, if I don’t leave it running, the shedquarters can drop below freezing. After toying with the idea of reverse-engineering ClimateRight’s proprietary thermostat port so I could connect a Nest… I took the lo-tech approach of installing a secondary Cadet heater. Boom — now I have two heaters!
Similarly, our previous two-unit TP-Link wifi network sucked in the shed. I would have to switch to the 2.4G Hz network every time I went out to the shedquarters to avoid packet loss, etc. After anguishing over the hassle of running a wired connection, I decided to try Google WiFi (mesh network). IT WORKS LIKE MAGIC! MAGIC DUST SPRINKLED IN THE AIR! So that problem is solved too.
Upcoming enhancements to the shedquarters include:
- Full-width desk, with a cutout for my existing sit-stand desk.
- Killer speaker system the neighbors will love.
- Video conferencing system from the future.
There’s no end to the amount of money I can dump into it! For now though, I’m pretty happy with my end result and what I learned along the way.
Have a question? Feel free to leave a comment or reach out directly. I didn’t find a ton of DIY info online, so happy to help out the next person.